
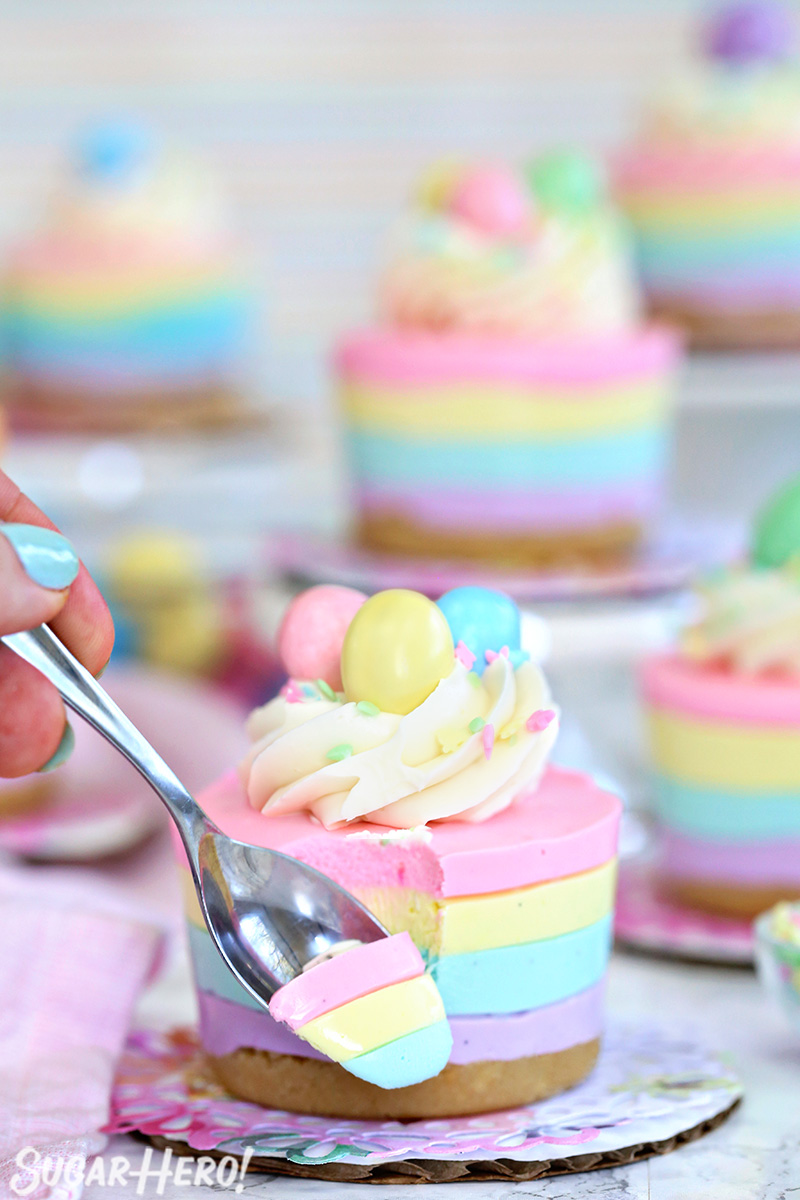
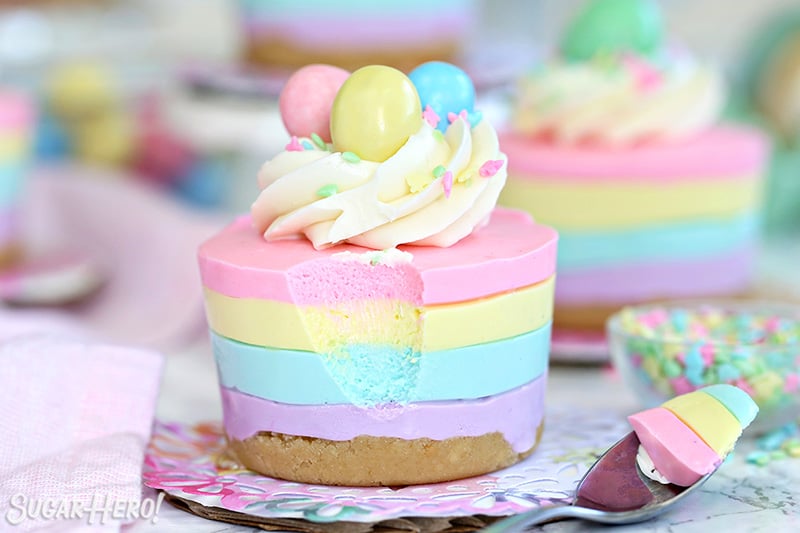
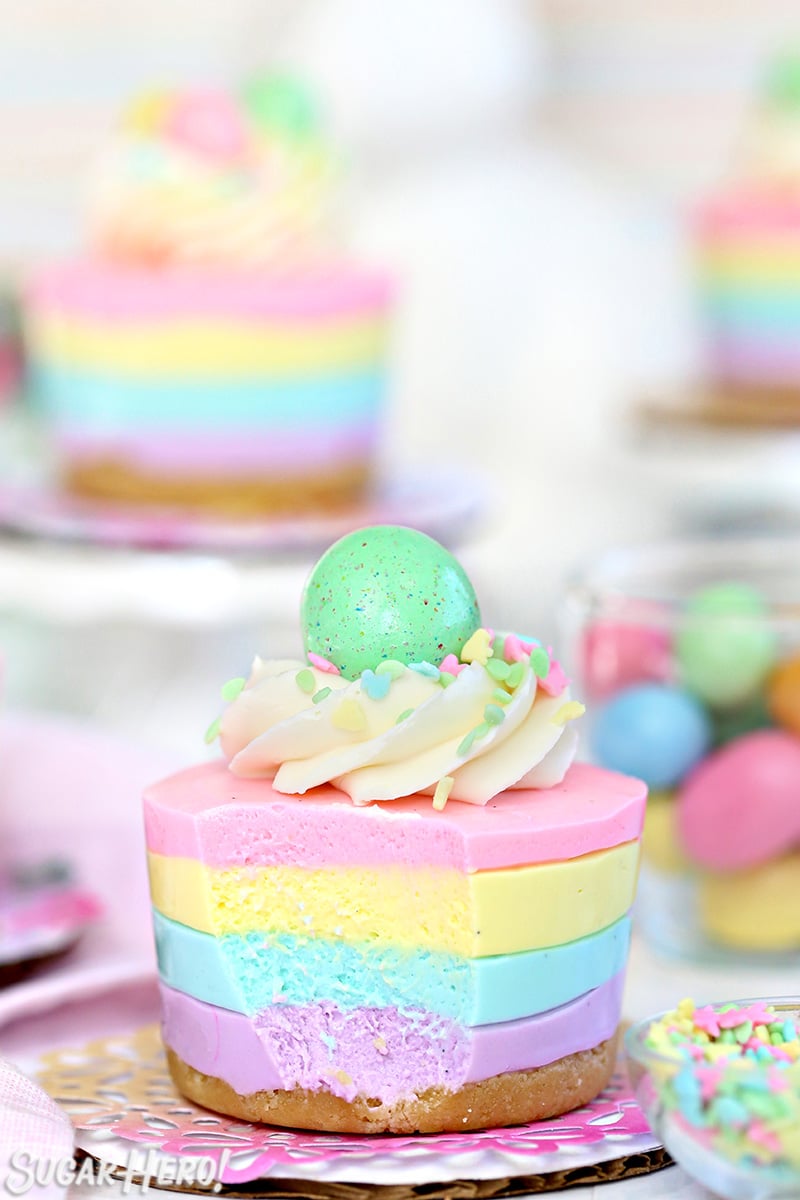
Looking for an easy Easter dessert? These Easter No-Bake Mini Cheesecakes are perfect! They’re cute pastel striped cheesecakes that are simple to make, no baking required!
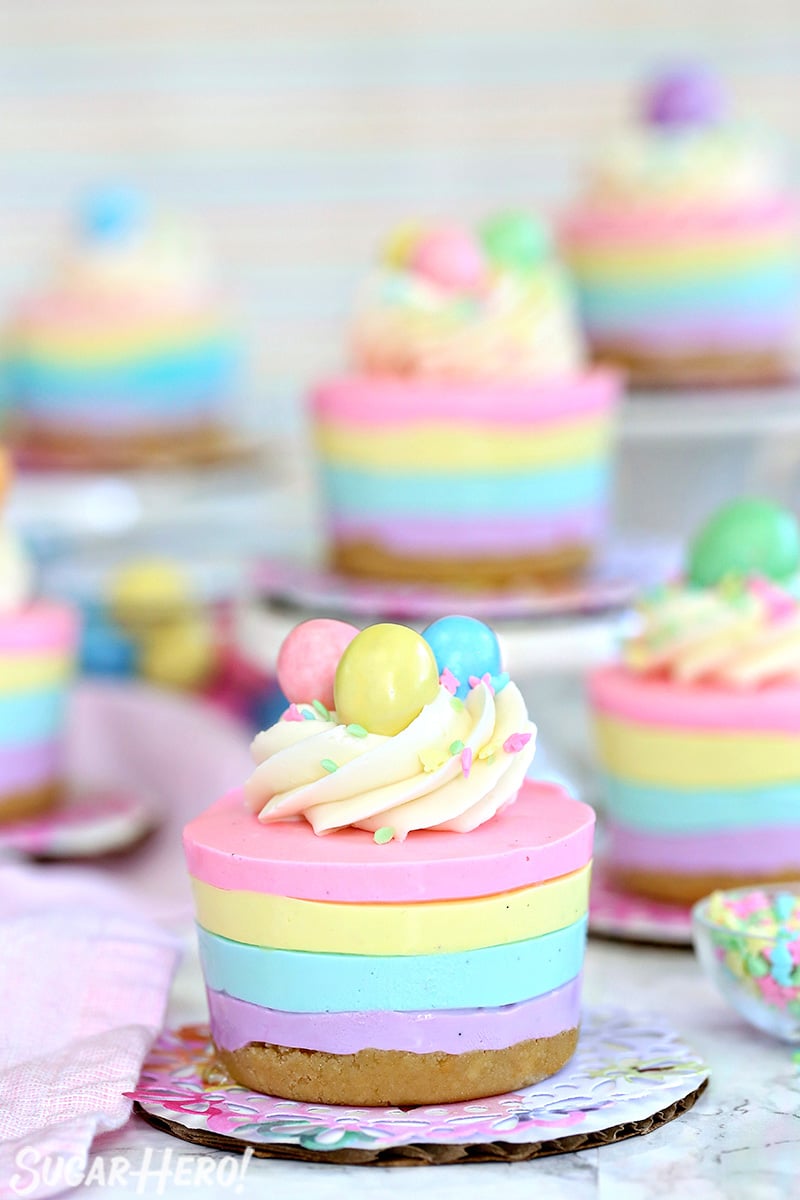
When it comes to popular Easter desserts, you probably usually think of things like carrot cake, fresh fruit tarts, and fun candies like peanut butter eggs and truffles.
Cheesecake probably isn’t the first thing that pops into your mind…until now.
Once you make these adorable, easy Easter No-Bake Cheesecakes, you’ll want to make them an Easter tradition for your family year after year.
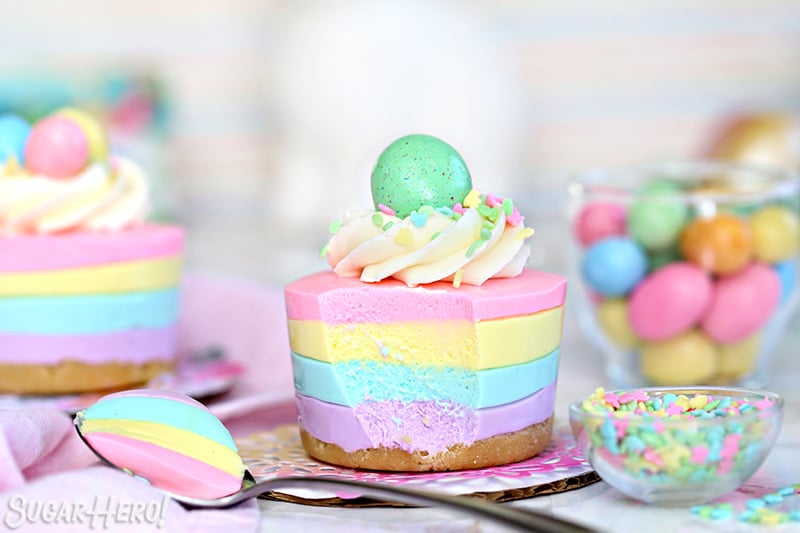
YOU’LL FALL IN LOVE WITH THESE EASTER CHEESECAKES
There are so many reasons you’ll fall in love with these beautiful pastel-striped cheesecakes! Here are just a few of their charms:
- They’re easy – no baking required!
- They can be made in advance and kept in the freezer for over a week
- They’re a crowd pleaser – who doesn’t love cheesecake?
- The pastel colors makes them perfect for Easter
- The light and fresh texture goes well with berries, whipped cream, etc

ACHIEVING THE PERFECT CHEESECAKE TEXTURE
Another reason to love this recipe? They are not your traditional cheesecakes! These no-bake babies have a soft and fluffy texture, closer to a cream cheese mousse than to the ultra-dense New York-style cheesecakes.
A traditional cheesecake can feel indulgent, yes, but also very heavy. These are a gateway cheesecake, perfect for convincing cheesecake skeptics and for delighting long-time cheesecake lovers alike.
The ingredient list is simple—cream cheese (of course!), cream, sugar, flavorings, and International Delight Sweet Cream creamer. This is my favorite ID flavor. It tastes almost like ice cream! But if you’re a dedicated vanilla lover, I’ve also tried this recipe with the French Vanilla variety and that was delicious too.

HOW TO MAKE EASTER NO-BAKE CHEESECAKES
The keyword with this recipe is SIMPLE. So it’s made with just 1 batch of cheesecake, tinted 4 different colors, and then layered on top of each other, one after the other, no chilling required in between. Score!
TOOLS NEEDED
The #1 piece of equipment you’ll want is this silicone jumbo muffin pan (affiliate link). It make perfect individual sized cheesecakes. It also has straight sides, which look really nice, and the soft silicone makes cheesecake removal easy.
If you often make cheesecakes or tarts, you’ll also want to pick up a tart tamper (affiliate link). They’re cheap and will give you perfectly even crusts, every time!
PROCEDURE
Here’s how everything comes together:
- Make a quick crust from crushed shortbread cookies and melted butter, and press it into the silicone muffin pan
- Combine unflavored gelatin and cold water, and mix them together. Let it sit for a few minutes so the gelatin absorbs the water.
- Mix the cream cheese, sugar, lemon juice, flavorings, cream and creamer, until nice and smoooooth.
- Warm up the gelatin until it is liquid, then mix it into the cream cheese mixture.
- Divide the cream cheese into 4 parts, and color each one a different color.
- Layer the colors on top of each other on the crust
- Freeze the cheesecakes until very firm
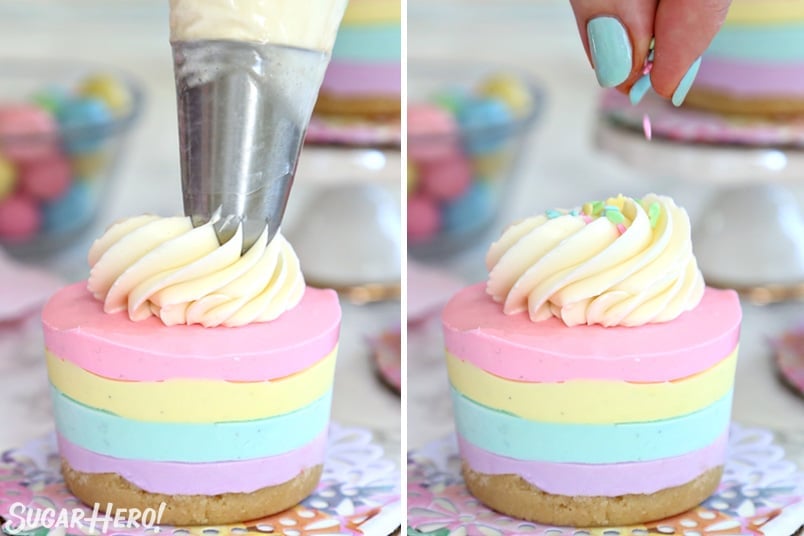
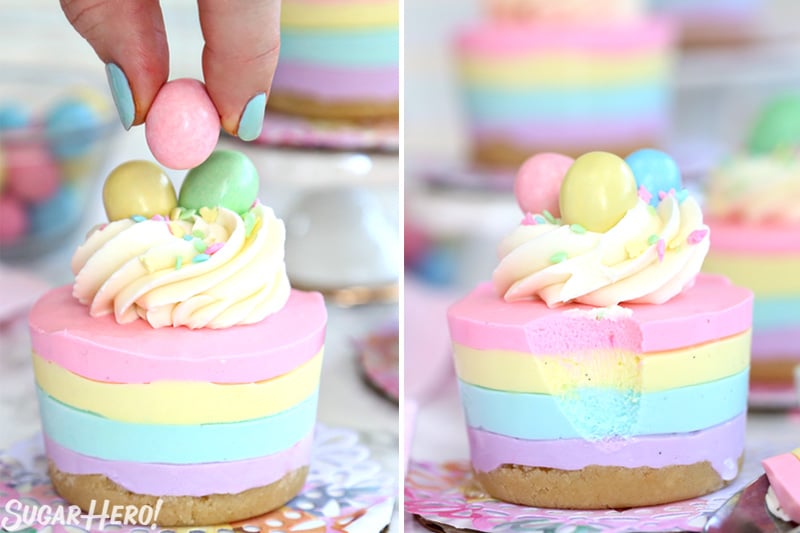
- Pop them out of the pan, and decorate! The final touch is a swirl of whipped cream, a pinch of Easter sprinkles, and a candy egg or two (or three).
TIPS, TRICKS, AND COMMON QUESTIONS
Is the gelatin necessary?
Yes and no. The gelatin helps stabilize the cheesecakes so they hold their shape at room temperature. If you want them to look like the picture, unmolded and holding their layers on a plate, then yes, you should use the gelatin. If you want to make the cheesecakes in small jars or glasses, so you don’t have to unmold them, then you can omit the gelatin (and water) and you should be good to go!
Can I substitute agar-agar for the gelatin? What about a different gelatin substitute?
I have not tried this recipe with agar-agar and can’t promise that it will work the same. If you have successfully made a gelatin substitute, I would love it if you would leave a comment so other readers will know.
Can I make these without the silicone cupcake pan?
Of course! I love this pan because it produces really beautiful smooth, straight sides on the cheesecakes, but it’s by no means a necessity in making this recipe. You could use:
- a different silicone pan
- a traditional mini cheesecake pan
- a traditional jumbo muffin pan
- a traditional regular muffin pan
If you do not use a silicone pan, you will want to line the sides with something to make sure you can easily remove the cheesecakes later, because the cheesecakes will stick to the sides of the pan. This can be strips of acetate sheets, parchment or waxed paper strips, or even cupcake liners. Your choices might produce a textured result on the sides of your cheesecakes, but the taste will still be the same!
I can’t find the creamer, can I still make this recipe?
Definitely! Just substitute an equal amount of cream (either heavy cream or whipping cream will both work) for the creamer in the recipe.
The cheesecake is too thick (or too thin) when I’m layering.
Texture problems are often temperature problems. To make sure the cheesecake batter isn’t too thin when layering, make sure that the gelatin is warm and fluid, but not hot, when mixing it into the cheesecake. The cheesecake mixture should be smooth but still have body when you mix it together. If it does seem really liquidy, wait a few moments for it to thicken before you start layering. You can also refrigerate it briefly between layers if you think you’re going to have problems with the colors mixing during layering.
To prevent the cheesecake from being too thick to layer nicely, just make sure that the gelatin is nicely warmed before you add it to the cheesecake, and that the cheesecake mixture is at room temperature so it won’t start to set too quickly.


0 Comments